Homeboard - my homemade Skylight alternative
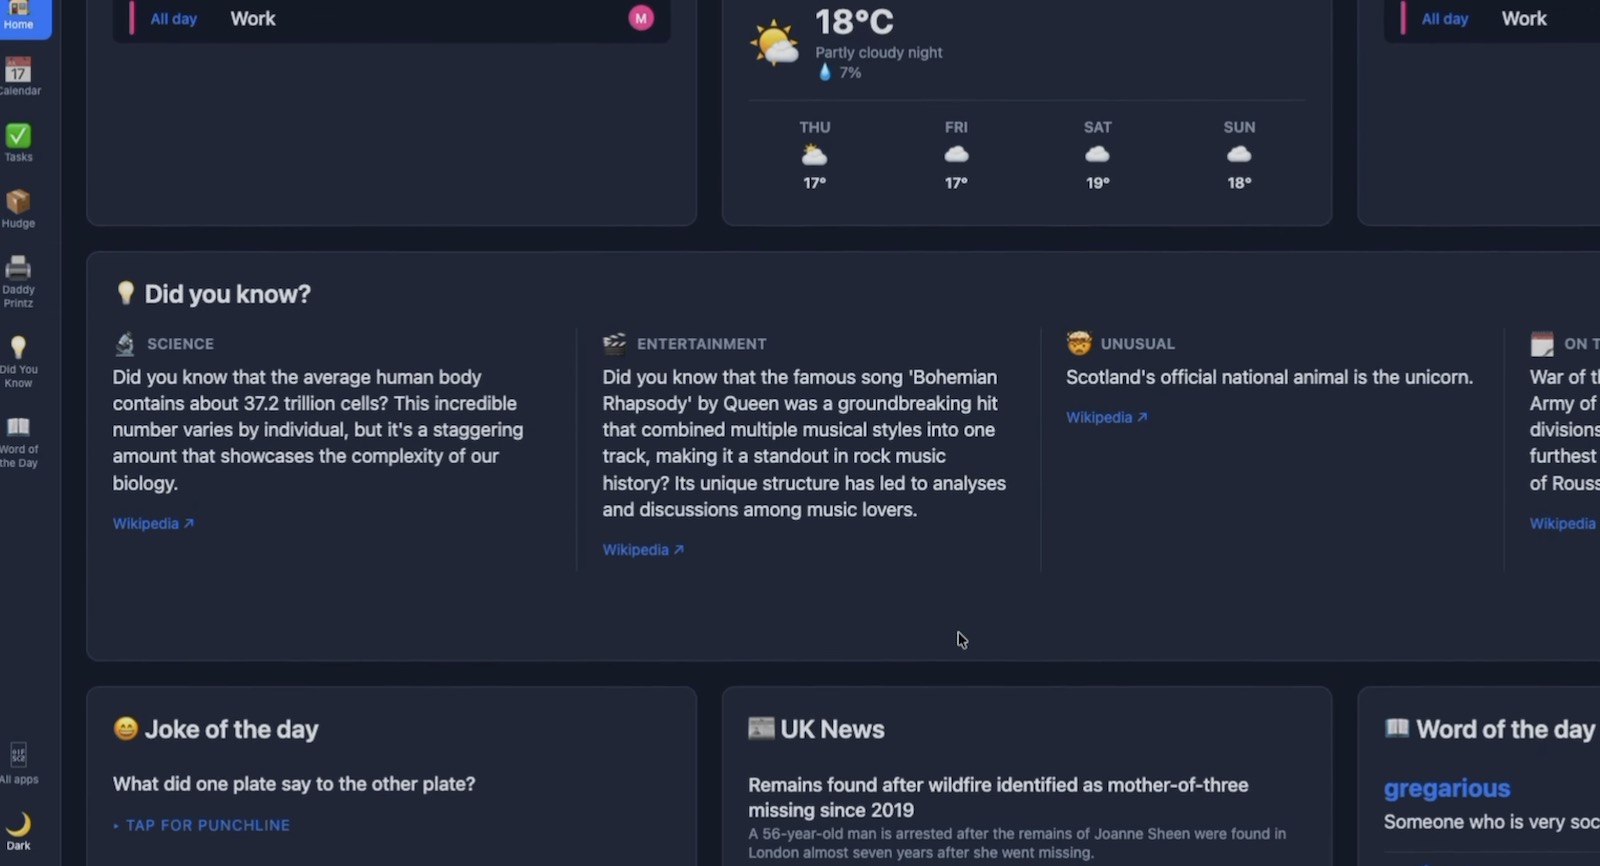
Homeboard is my homemade digital display family organiser. Calendar, chore lists, meal planning, to-dos, reminders... all the admin that keeps a house from falling over, on one screen.
A project that sat at ninety percent finished for three months, and the box that finally sorted the other ten.
This one's hardware and concept only. The software itself may get its own write-up... it deserves better than being a footnote to a story about screws. Let me know.
Enjoy!
The thing I didn't want to buy
If you've ever gone looking for one of these, you'll have found the same handful I did. Skylight, Hearth, DAKboard, and a long tail of imitators. They all do the headline job perfectly well, which is putting a calendar on a wall where people can see it. No issue there.
My quarrel is with the inflexibility of what you get. It's their device, running their software, talking to their servers. And more often than not there's a subscription bolted on the side. For a screen showing my family's reasonably sensitive information (and dentist appointments), that's a lot of other people's infrastructure to invite into the kitchen.
And I have to operate entirely within their vision. We're at the mercy of what they want to build, and what if they hike the price? And let's say we fall out of love with it in 6 months, is there any resale value?
Obviously I'm in a fortunate position as a software developer with the misplaced optimism of being able to build my own but without the luxury of the time to do it. But that didn't stop me doing it anyway. Yes, there are plenty of other non-Commercial options out there... proper open source things that I could have used. But inevitably they've got a learning curve which I can eliminate by building my own; or they go the way of DAKBoard and get acquired and go all evil.
The main advantage of mine is simple. It's a home organiser that does exactly what I want it to do, for exactly what our family needs. Chores? Easy. Photos? Easy. Year 5 Revision? Easy. AI meal planning, tailored gym workouts, music-practice-streak-tracking? Easy. Live countdowns until the kids have to be ready for school? Easy. Link to my homemade mini-printer so we can track orders for our side businesses? Easy. My devices, my hardware, my software, my mistakes.
And what's more, it's just another device on our network. So even though the digital touchscreen is the central focus, it can be accessed by anyone in the family when on the network. My computers, iPads, phones. In bed, in the bath, in the garden. All done. Easy.
Underneath it's a Raspberry Pi running Chromium full screen in kiosk mode, pointed at a small web app. The app lives on the network, not on the device.
The stack is deliberately simple. Raspberry Pi OS, nginx out front, a fair amount of Python, FastAPI doing the work and HTMX on the front end. Nothing in there should frighten me when I come back to it in two years. That's more than I can say for most of my side projects.
The feature everybody in the house really cares about is none of the above. It's the screensaver. It pulls from a shared iCloud album, so you take a photo on your phone, drop it in the album, and it's on the wall a few seconds later. No app, no accounts, nothing to explain to anyone. Self-pruning too, so we automatically rotate photos and don't get too bored of the same old ones.
What actually turned up
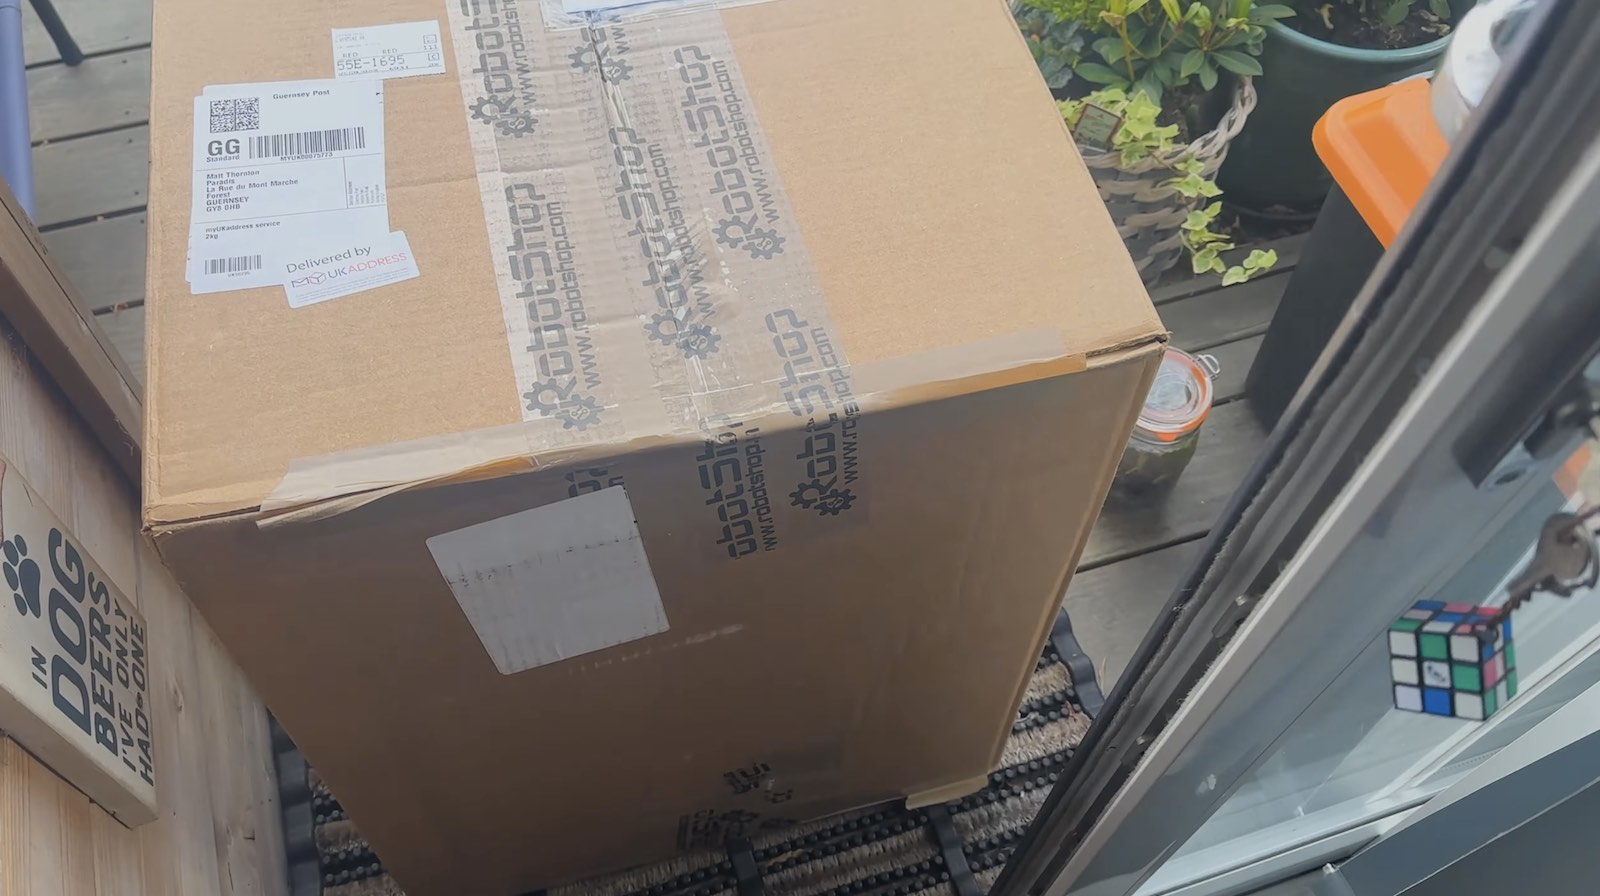
I had it built over a few weeks and had it running on an old Pi 3 and an old computer monitor, with a keyboard and mouse attached. Which was fine, but not quite the experience we all wanted. I went hunting and found a pretty good sounding thing - a Waveshare 21.5 inch capacitive touchscreen that was advertised as being made for Raspberry Pi (as it has a mount on the back.)
Ordered one via RobotShop, and going by the labels it had come from China to Canada, then the Netherlands, then the UK, then here. Living on a small island does interesting things to a tracking number. I stopped trying to make sense of the routes a long time ago. Needless to say, it took a while to arrive.
Not sponsored, by the way. I bought it with my own money and Waveshare have no idea I exist. Worth saying early, because the next few paragraphs are quite complimentary and I'd rather that counted for something, but also that's an open offer to anyone reading... you are welcome to send me cool stuff.
First impressions beat the price. There's no bezel to speak of, just a sheet of glass that looks properly smart on a wall... and which I already know will be a swine to photograph for a thumbnail.
There's a standard VESA mount on the back, so hanging it is a solved problem rather than an afternoon of improvisation. There are speakers, which I hadn't noticed when I ordered and have yet to find a use for. And there's a fan. More on the fan later. The fan and I are going to have words.
I picked this model for one key reason: it has a mounting position for a Raspberry Pi built into the back, which promised one tidy object rather than a screen with a small computer gaffer-taped to it. I was pleasantly surprised by what I discovered.
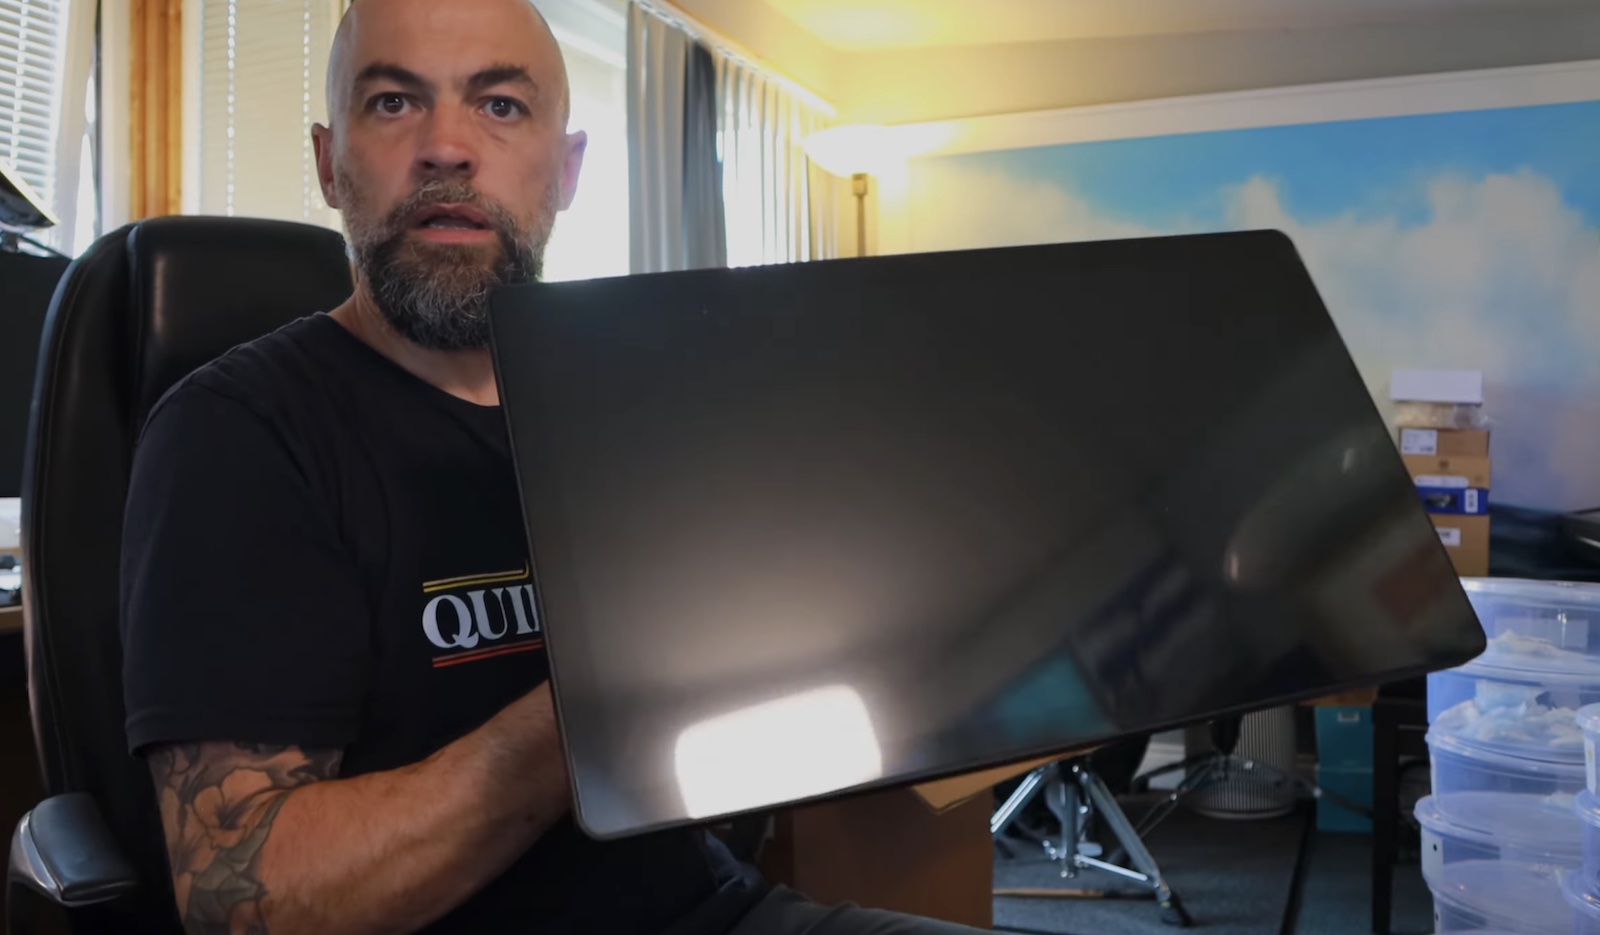
What the box didn't contain, in any form, was instructions. No leaflet, no booklet, not even a QR code pointing at a PDF nobody would have read. Five screws in a little bag, and the calm assumption that you'll work the rest out yourself.

It works, and it's upside down
Before opening anything I plugged the screen into the Pi 3 that had been running Homeboard on my desk. Finding out whether it worked seemed a sensible thing to do before taking it apart.
It lit up straight away. Upside down. That's a software fix and not worth worrying about, but it does set the tone for an afternoon. Touch did nothing at all. I swiped hopefully at the glass, achieved nothing, and spent an uncomfortable minute wondering if I'd just spent real money on an extremely glossy not-a-touchscreen.
The cable I hadn't thought about
It's obvious once you know, so let me save you the uncomfortable minute.
The touch layer is a separate USB device from the display. HDMI carries the picture. A USB cable from the Pi to the touch port carries the touch. Two things, two cables. Connect only one and you get exactly half a touchscreen... the half that looks nice and does nothing.
Plugged the USB in and the Pi saw it straight away. No drivers, nothing to configure. Tapping worked, scrolling worked, and scrolling even had proper momentum to it. It was sluggish, but that was the ageing Pi 3, not the screen.
Taking a screwdriver to a brand new screen
With the screen confirmed working, I did the thing the total absence of documentation had been daring me to do since I opened the box. Out came the five screws.
Inside is the display board, which you'd expect, plus a clear space for the Pi with mounting posts ready. The interesting find was a small extension board with the connections already run out to it. Two details on that board made the rest of the build much easier than I'd planned for.
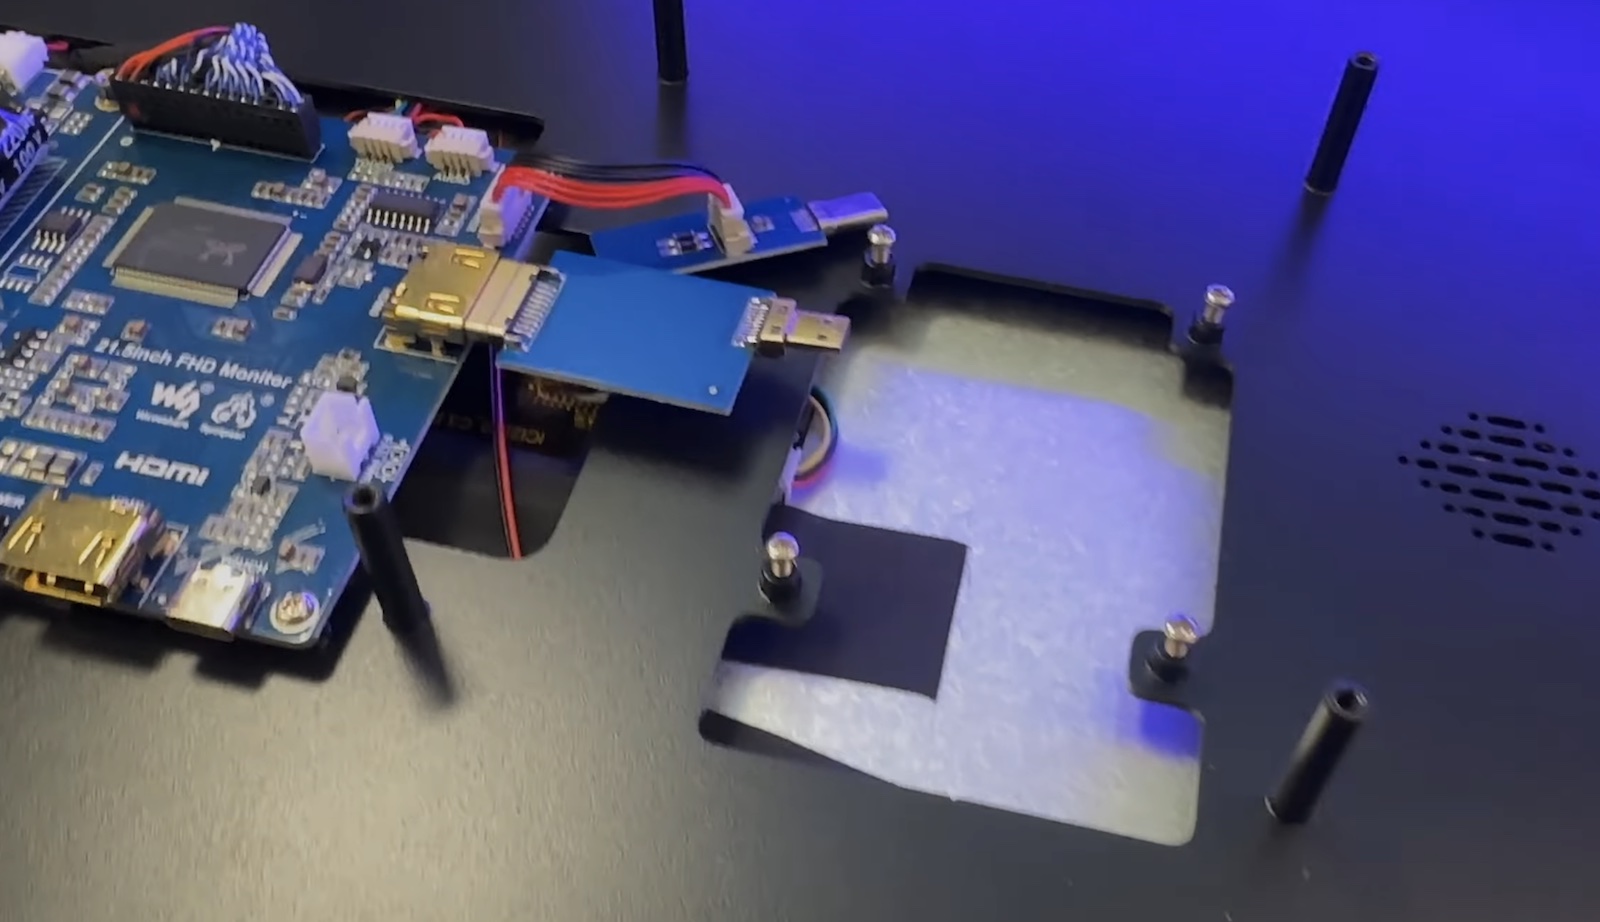
The power header is labelled high power output, so the screen can feed the Pi directly. I'd budgeted for a separate USB-C supply running up the wall. That's two cables arriving at the mount instead of one, and it would have annoyed me every time I looked at it.
The touch connection is a plain USB header that mates straight into the Pi once the board is seated. So the USB cable I'd been draping round the outside of the case is only needed while the Pi is outside it.
There were also some small spacers in the bag of bits. Their purpose became clear about four seconds after I'd finished mounting the Pi without them. Off it came again. That's a fair summary of my approach to assembly generally.
The one thing that didn't fit
Which brings us, as promised, to the fan.
The fan that comes with the case ends in an old two pin JST connector. The Pi 5 has moved to a smaller four pin header carrying PWM control and a tacho signal alongside the power. They don't fit, and staring at them doesn't help.
There's a workaround, because there's always a workaround. Splice the fan onto the GPIO for five volts and it'll spin happily enough. Trouble is the Pi then has no control over it at all. So instead of coming on when the processor warms up, it runs flat out, continuously, forever... on a device destined for a kitchen wall at head height.
That's not a cooling solution. That's a long-term commitment to background noise. And I'd like to think I've learned something over the years about which battles to pick with my own house.
As it happens I already had a Pi 5 with the official active cooler on it, bought months ago for an unrelated project that hadn't got past the optimistic stage. So I sacrificed that project, transplanted its Pi and cooler into this one, and ordered a replacement cooler for whenever the other idea comes back.
Ten minutes of contemplating a wiring bodge against a part already in a drawer. The drawer wins, and it usually does.
Check the fan header before you buy
If you're buying a screen with an integrated Pi bay, look at what fan connector it ships with before assuming the bundled cooling will work with a Pi 5. A lot of these cases were designed around the Pi 4 and have been carried forward without anyone revisiting that detail.
Image the card, and do it in the right order
The plan had always been to move Homeboard from the Pi 3 onto a Pi 5. Back panel off, everything accessible, this was obviously the moment.
First though, the SD card. I had no idea if putting an SD card from a 3 in to a 5 would just work but I do have experience of SD cards getting corrupted and honestly I didn't feel like it rebuilding it again. So after a bit of internal debate, I did the sensible thing and five minutes with an imaging tool bought me the right to be completely careless for the rest of the afternoon. Few better returns on five minutes.
Do this before you mount the Pi
Image the card and get it back in the Pi before you attach the Pi to the board. The SD slot is on the underside, and once the board is seated on its posts inside a 21.5 inch screen, getting a fingernail near it is genuinely fiddly and comes with language I'd rather the kids didn't repeat. I got the order right by luck, not planning.
A Pi 3 card, straight into a Pi 5
Then the part I'd been quietly dreading for a fortnight.
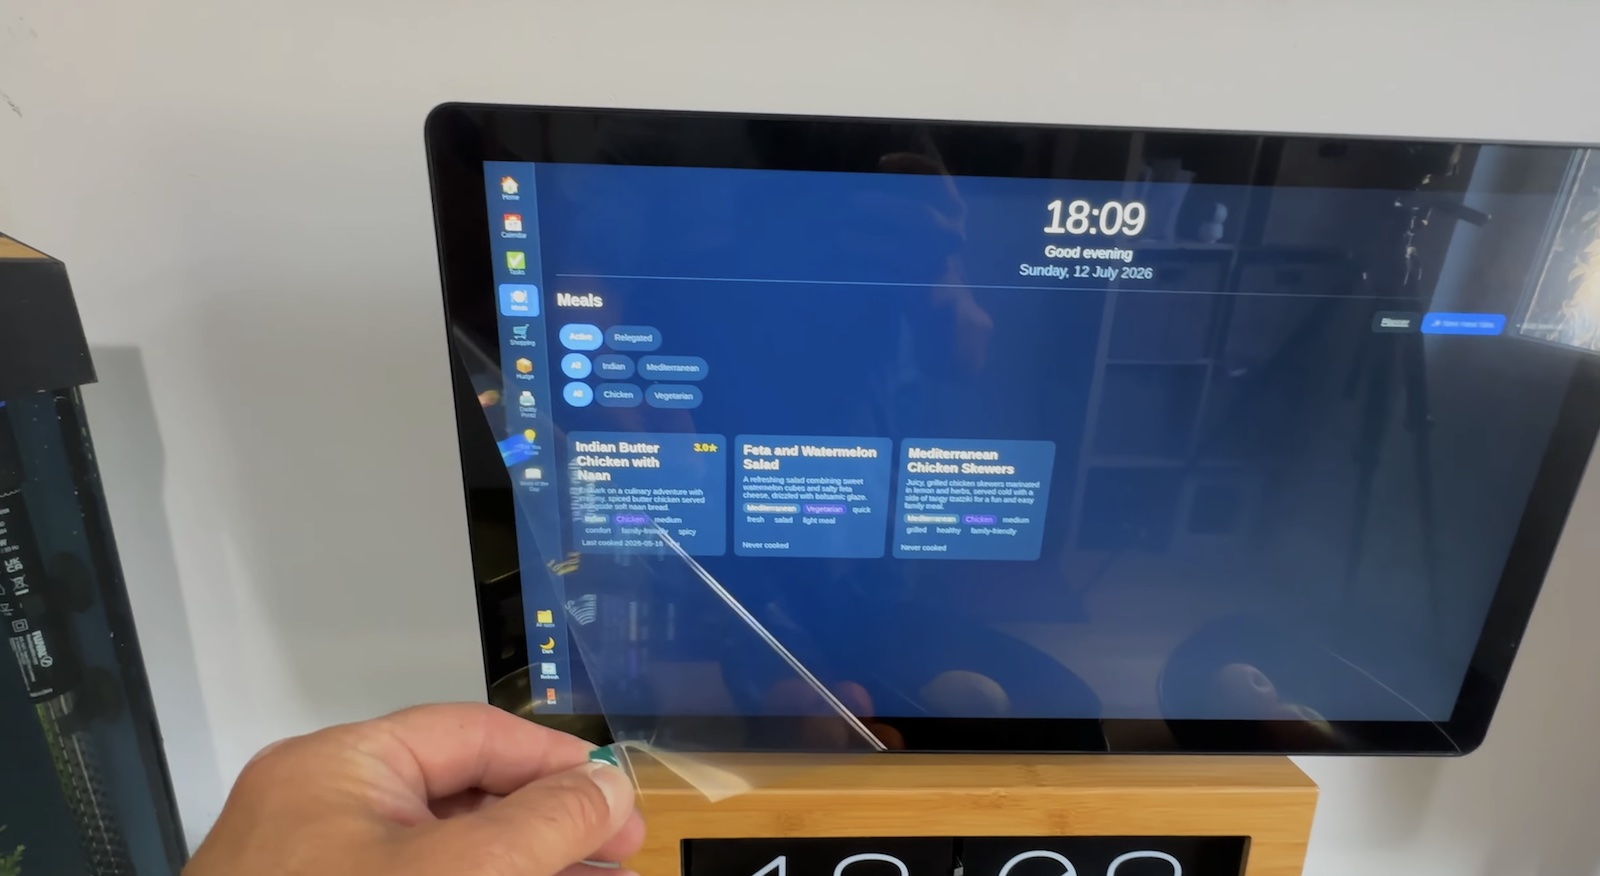
I took the SD card out of the Pi 3 and put it in the Pi 5. No reimaging, no reinstall, no evening spent rebuilding config from memory and increasingly desperate shell history.
It booted first time, went straight to kiosk mode, and landed on Homeboard looking exactly as it had on my desk five minutes earlier. Raspberry Pi OS handled three generations of hardware difference on its own and didn't think it worth mentioning.
I'd be lying if I said I didn't feel slightly cheated. I'd set the whole evening aside for troubleshooting.
Attaching the USB cable for the touch layer was the last job. That was the build done.
All that was left was deciding where to put it, which involves drilling into plaster in a room my wife holds firm views about, which makes it comfortably the hardest part of the whole project.
So, was it worth it
On paper, the costs work out about the same, in Year 1 at least. A 15" Skylight is around £250 to buy + £60 per year if you want their premium subscription. My 21.5" solution (which looks and feels a bit nicer) works out about the same price once you've bought all the peripherals. But in year 2 I will profit, and the benefit is that if we do stop using it then I can easily repurpose this kit for something else. In fact I'm tempted to do it anyway because the screen is just so damn nice.
The thing I'd undersell if I wasn't careful is what the Pi 5 does to a touchscreen. On the Pi 3 it worked, in the sense that inputs were eventually acknowledged. On the Pi 5 it's silky. Taps land instantly, scrolling has real weight to it, and the whole thing stops feeling like a project and starts feeling like a product.
That sounds like a matter of taste. It isn't. It's the difference between something a family tolerates because Dad built it and something a family actually uses. On a device whose entire job is to be glanced at forty times a day, that's the whole ballgame.
Surely something wasn't all gravy
Yeah, there were a couple of issues. The first is that the Chromium app doesn't trigger an on-screen keyboard on the Waveshare when entering an editable field. This is a bit of an issue. Oddly enough works fine anywhere else, including on an iPad so for now we've just been using that. Tick options and using buttons on the screen is fine - just not for entering text etc. Sub-ideal. There are a couple of possible solutions I'm exploring here.
Secondly, when it was running as a Pi + Screen then it worked flawlessly in terms of connecting to home Wifi. Even from my office at the opposite end of a couple of mesh nodes, I could seamlessly SSH into it and upload new versions and so on. However, when the Pi goes inside the rear panel of the screen, and then mounted to a wall (which admittedly is directly above a solid metal radiator) then Wifi connectivity using the onboard Wifi became seriously flaky. Barely connecting and being slow, or more annoyingly frequently disconnecting. I'm not sure yet exactly where I've inadvertently created a mini Faraday cage, but I had to work around this by attaching an external Wifi card with an antennae. This in itself causes a few potential issues - whilst the onboard power delivery from the screen to the Pi is excellent, various power messages appear in the Linux desktop saying there isn't enough power to drive external devices. So far they've been a bit spurious and it does work better, but something to be aware of.
Final tally?
A screen that worked out of the box. An extension board that (moreorless) got rid of a cable I'd already planned for. An OS that survived a three generation jump without comment. And exactly one fan connector that didn't fit. A Linux desktop and a custom built Homeboard application that saves me the cost and privacy concerns of using a 3rd party servicem and does exactly what I need it to do.
For a build that shipped with no instructions at all and I made up in evenings and weekends, I'll take that.
What's in it
(links might be affiliates, click a link to help me out!)
- Waveshare 21.5 inch capacitive touchscreen with integrated Pi mount, approx £250, via RobotShop.
- Raspberry Pi 5 4gb, approx £80 (wait, what?)
- Raspberry Pi official active cooler, £10
- Brostrend Wifi Dongle, approx £15
- A microSD card, plus short HDMI and USB-A cables, both of which live inside the case
What's running on it
- Raspberry Pi OS
- Chromium in kiosk mode
- nginx, Python, FastAPI, HTMX