Reactor Core trophy: painting a 3D print for the first time
A sci-fi "reactor core" trophy for a local escape room's charity challenge, and my first ever attempt at properly sanding, priming and painting a 3D print... it did not all go to plan.
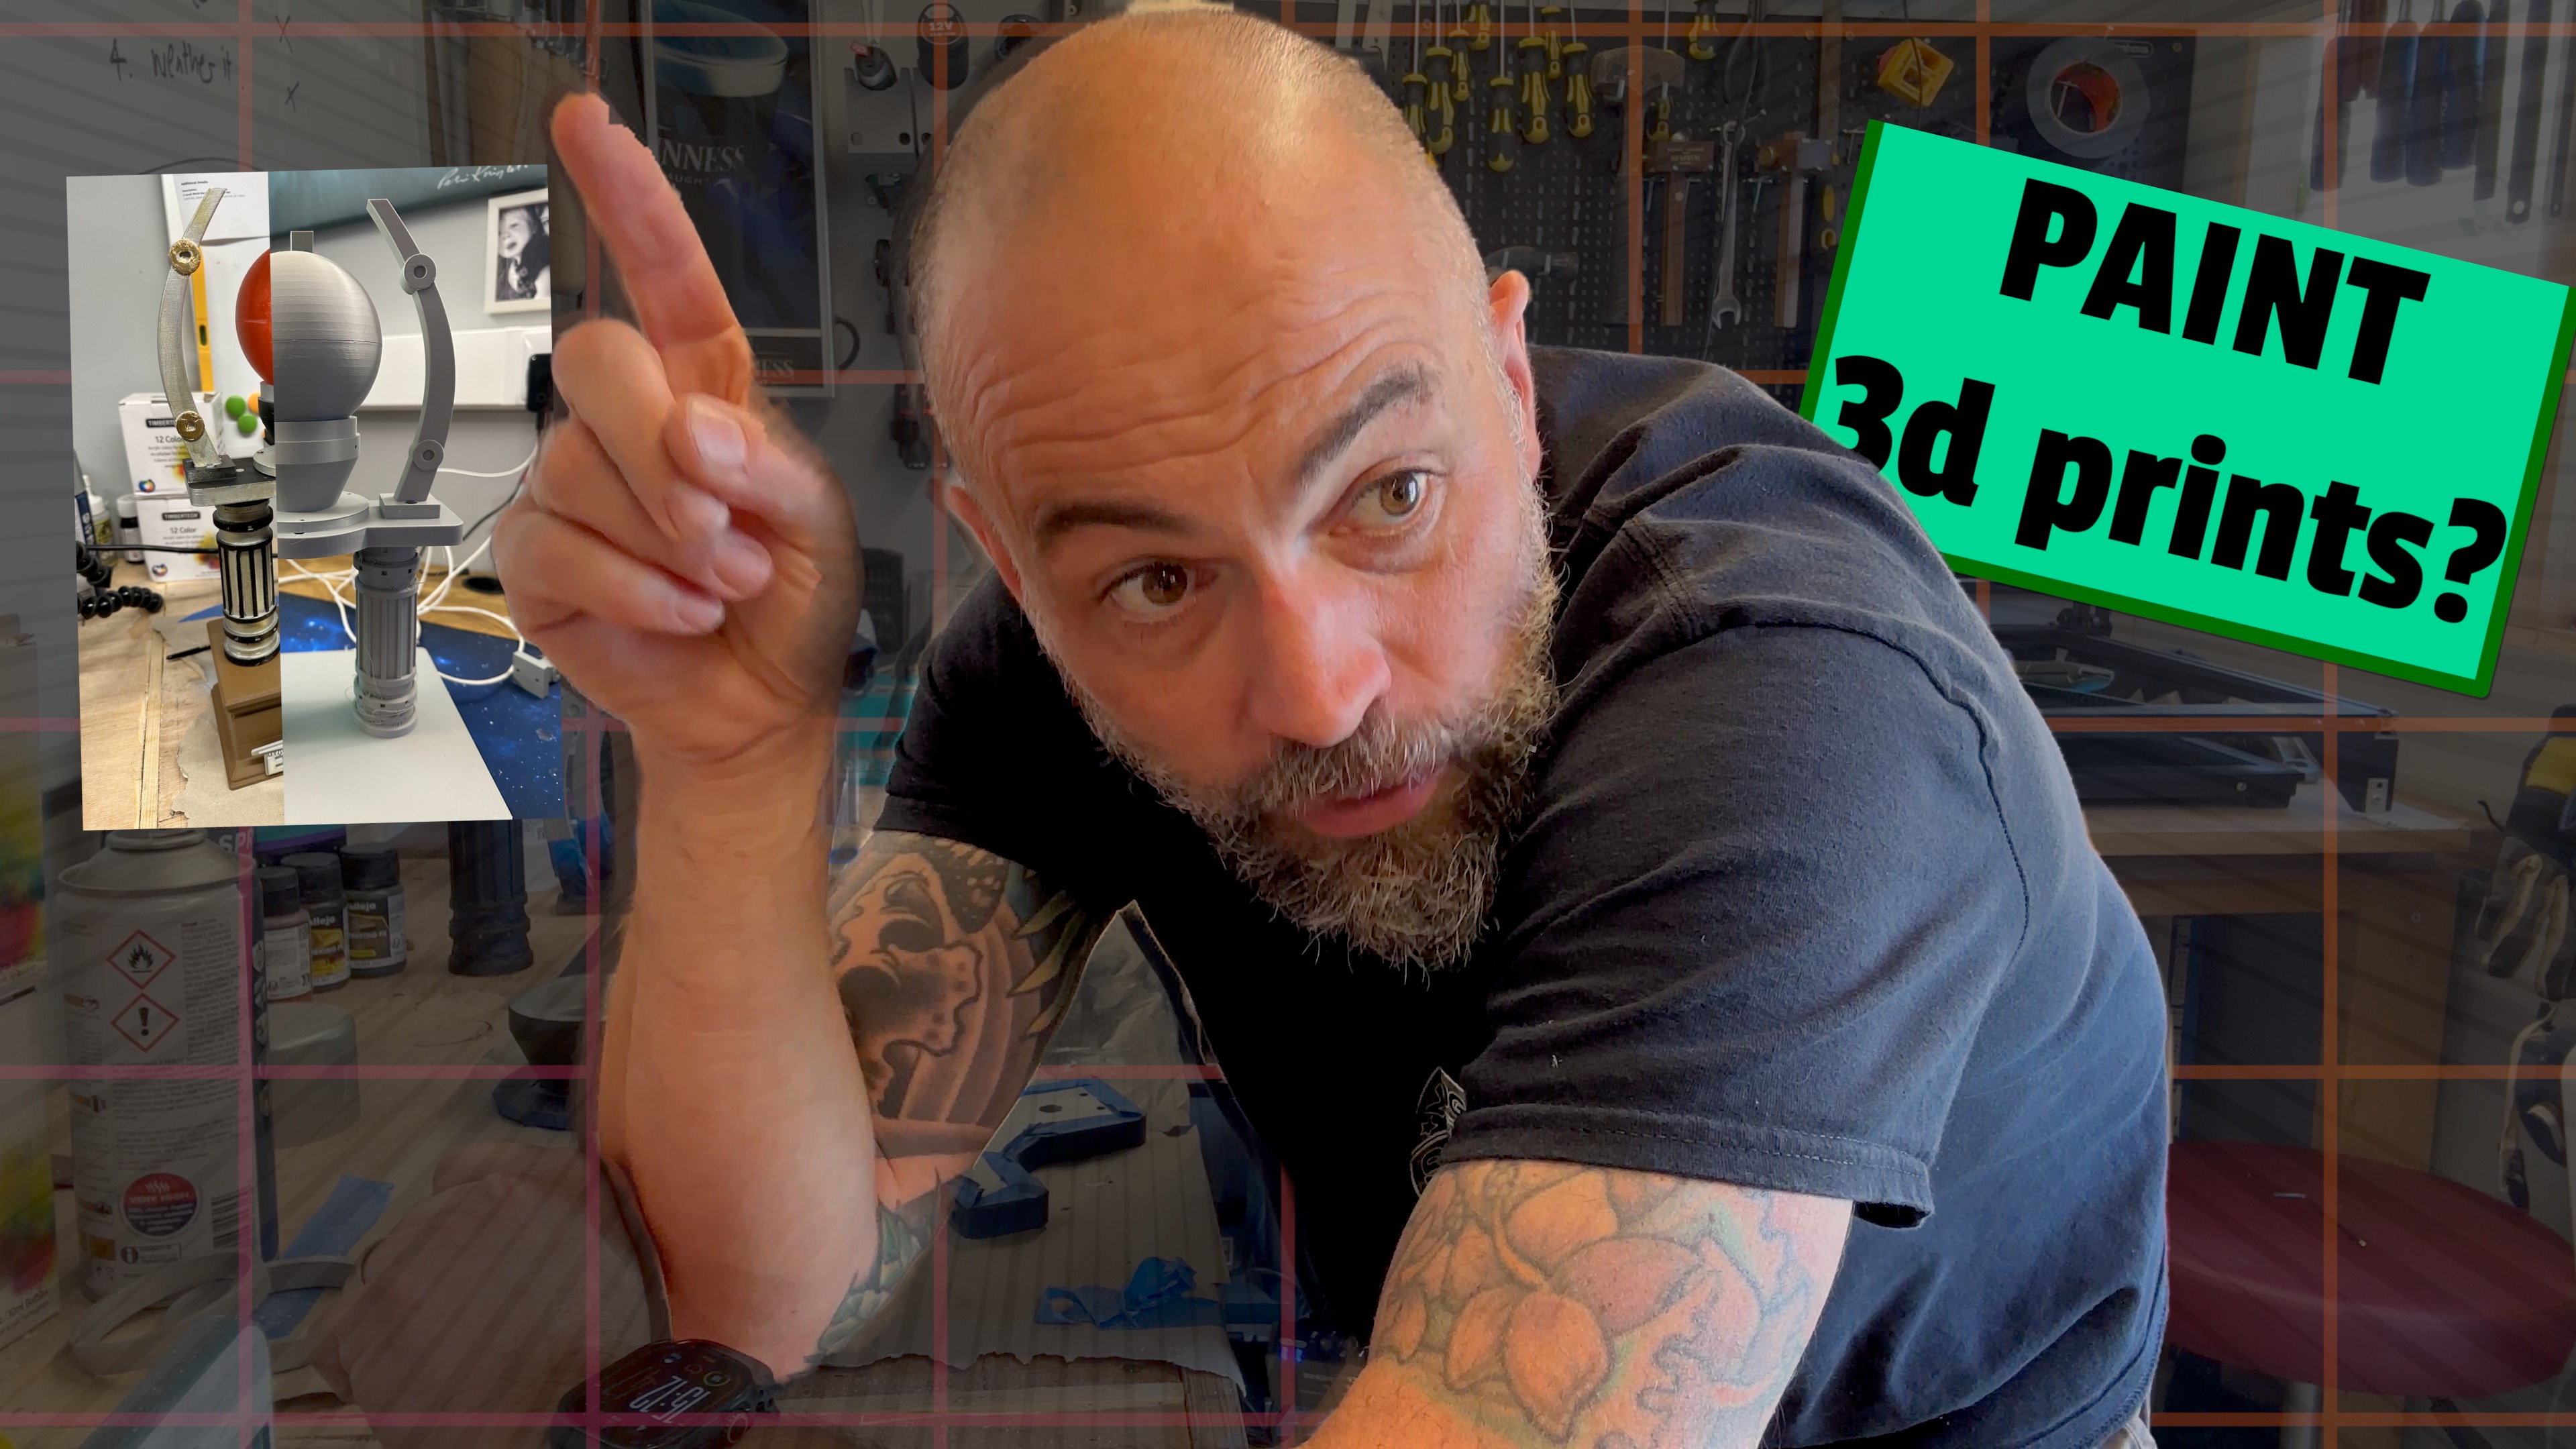
Painting 3D prints? Me? I'm pretty handy with code. Paint, on the other hand... not so much. So naturally, when my local escape room announced a charity challenge, I put my hand up to make the trophy, and decided this would be the project where I finally learned to finish a print properly.
A trophy with a twist
The escape room was challenging local businesses to take on one of their games, a space-themed room. Whoever escapes fastest wins £500 for the charity of their choice. That's a fantastic cause, and every good competition needs a trophy.
Their rooms are properly built: loads of props, loads of electronics, everything feels real. A plastic cup off the internet wasn't going to cut it. I wanted something that looked like it belonged in one of their games, and I told myself I had loads of free time. (Spoiler: I did not.)
The reactor core
The idea was a little sci-fi reactor core: a solid plinth with a plaque, two chunky pillars, curved reactor arms, and a big orb sitting in the middle. The orb would be printed in translucent filament so I could stuff LEDs inside, add a button, and make the core glow. I even toyed with a sound module.
I put it together in CAD, with a bit of inspiration from ChatGPT, and previewed it in my own STEP viewer for macOS, which you can grab from this site.
Printing the prototype
Into Bambu Studio it went. I spread the parts across my printers, and through the magic of time (everyone's seen a 3D printer print) I had a grey PLA prototype on the desk. It was kinda cool. The print quality was genuinely good, with just a bit of stringy spaghetti where the printer had struggled on a few overhangs.
And that's when it hit me: a grey plastic trophy isn't really a trophy. It needed painting. I'd never painted a print before.
Sanding. So much sanding.
I'd done my research: sand it, prime it, paint it. Easy. The sanding is mostly about giving the paint a key to grip onto rather than smoothing anything, because a good print is already pretty smooth.
I started on 60 grit, moved up to 240, and eventually took everything down to around 800. On a model this fiddly, with pillars full of grooves and arms with awkward curves, it takes forever. About ten minutes in I was already regretting it, and wondering whether I should have just printed the whole thing in colour. Probably wouldn't get quite the same effect, though, would it?
> ⚠️ Budget far more time for prep than you think.
> The sanding took longer than the printing, priming and painting put together.
The worst priming job ever
After a heroic rummage through the shed (bleeped in the video, for good reason) I found the daddy of all airbrushes, a stash of airbrush acrylics and some weathering paints. The plan:
- prime everything
- base coats of black and silver
- mask up the details and airbrush them
- weather it all so the imperfections look like starship battle damage rather than "the 3D printer went a bit wrong"
Priming was done with spray-can enamel, and I'll be honest, it's probably the worst priming job ever. Rattle cans and fiddly geometry don't mix, and I didn't mask properly because "it's just primer". It was a pretty rubbish finish.
> ⛔ Mask everything, even for spray cans.
> Even for primer. Future you will be grateful.
Masking, airbrushing, and a change of plan
Masking all the parts so I could grade the colours was a massive pain. I also used the cheapest masking tape known to humanity, which splits every time you look at it.
Somewhere around here, reality caught up. I'd planned a proper wooden plinth, but I just didn't have the time, so the base got 3D printed too. It's not quite as nice as wood, but it looks right, and it has a recess for a brass plaque.
Then came the moment of truth: peeling off the tape. It was looking pretty cool. With the black and silver on the pillars and the orb sat on top, I genuinely laughed. Look how cool is that?
The big surprise of the whole project was the airbrush. It gave a far better finish than the rattle cans. That's almost certainly down to my inexperience with spray cans, but if you're starting out, I'd go straight to the airbrush.
That's a pickle
Assembly should have been the easy bit. Woodwork I can do, electronics I can do. This stuff? Not so much.
I'd designed it to screw together, then couldn't remember how half of it was actually meant to attach. My fix was 3D-printed dowels: knock them into the pillars, the base and the top plate. Some went in "right nice". Some went in a bit bent. Some needed a hammer. It's gonna work.
Gold leaf and weathering
To finish it off, I put gold leaf on all the bolt heads. That's an excellent way to end up with gold leaf on every surface you own, including yourself. Then came a final pass of airbrushed weathering to dirty everything up and tie it together.
Somewhere in the middle of all that, I realised I'd started this project by saying I'd make a trophy and was now using an airbrush, a laser and gold leaf. That's how scope creep looks.
So, did it work?
Mostly, yes. Stood on the bench next to the grey prototype, the difference is night and day: silver and black pillars, weathered reactor arms, gold bolt heads, and that big red core. I was really pleased with how it turned out.
Surely something wasn't all gravy
Oh, plenty.
- The plaque: I planned to laser engrave it with my AtomStack. That didn't work at all, so the trophy went out with a blank plaque.
- The electronics: no LEDs, no button, no glowing core. I completely ran out of time. (They may add the LEDs themselves, which would be brilliant.)
- The handover: I delivered it, and my camera failed, so there's no footage of the big moment. Typical.
Fundamentally, I don't think I did it justice. I handed it over before it was really finished properly, and I put way too much pressure on myself to get it done.
Final tally?
My first painted print, and four things I'll take into the next one:
1. Prep takes forever. Sanding is everything, and it takes way longer than you think.
2. Mask everything. Even if you're "just" using spray cans.
3. Airbrush beats rattle can. By a mile, at least in my hands.
4. Give yourself time. Projects like this are meant to be fun, a bit exciting, and a chance to learn something. Don't take one on when you've got 200 other things going on, or you'll rush it and do half a job.
Good luck to every business taking part. I hope the event raises loads for charity, and I hope you escape.
What's in it
- Printers: Bambu Lab, sliced in Bambu Studio
- Filament: PLA in grey (prototype), brown (base) and red (the reactor core)
- Fixings: 3D-printed dowels (and a hammer)
- Sandpaper: 60 → 240 → 800 grit, plus sanding sponges for the curves
- Primer: spray enamel
- Paint: airbrush and compressor, acrylic airbrush paints (black and silver) and weathering paints
- Masking tape: the cheap stuff splits, so learn from me
- Gold leaf: for the bolt heads
- Plaque: brass, blank (the laser engraver lost this round)
- Design: CAD, previewed in my STEP viewer for macOS